Introduction
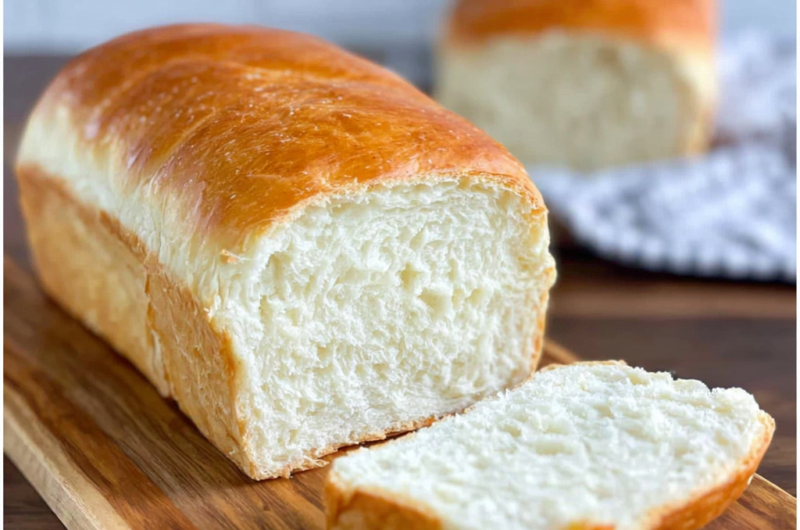
The aroma of freshly baked bread is one of life's simple pleasures, evoking comfort and warmth. Homemade bread transcends mere sustenance; it’s a canvas for creativity. Every loaf tells a story, reflecting the ingredients and methods used by the baker.
With just a few quality ingredients and some dedication, you can create your own artisanal bread right in your kitchen. This guide will walk you through the essentials of bread-making, encouraging you to experiment and find your unique touch.
Ingredients
- 4 cups all-purpose flour
All-purpose flour serves as the backbone of your bread, providing structure and stability. Its moderate protein content allows for a good rise, creating a light and airy texture. - 2 teaspoons salt
Salt is crucial for flavor enhancement and it also strengthens the gluten structure, which helps to trap the gases produced during fermentation and contribute to the overall texture. - 1 packet (2 ¼ teaspoons) active dry yeast
This ingredient is essential as it ferments the dough, producing carbon dioxide that makes the bread rise. Active dry yeast requires activation in warm water, which awakens its leavening properties. - 1 ½ cups warm water (about 110°F)
Warm water is important for activating the yeast. It provides an optimal environment for fermentation, facilitating the yeast's growth and resulting in a well-risen loaf. - 1 tablespoon sugar
Sugar acts as food for the yeast, promoting a quicker rise. It also enriches the flavor of the bread, contributing to a subtle sweetness. - 2 tablespoons olive oil or melted butter
Fat from olive oil or butter adds moisture and richness to the bread. It improves the crumb texture, making the bread softer while also enhancing its flavor.
Directions & Preparation
Step 1: Activate the yeast by mixing it with warm water and sugar.
Start by combining the warm water, sugar, and yeast in a bowl. Let this mixture sit for 5-10 minutes until it becomes frothy. This indicates that the yeast is active and ready to work, which is crucial for the dough's rise.
Step 2: Prepare the dry ingredients by whisking flour and salt together.
In a large bowl, combine the flour and salt. Whisking them together ensures that the salt is evenly distributed, which is vital for consistent flavor and gluten development throughout the dough.
Step 3: Add the activated yeast mixture and olive oil to the dry ingredients.
Make a well in the center of the flour mixture, then pour in the yeast mixture and the olive oil. Stir with a wooden spoon until the dough begins to come together; this helps to incorporate the wet and dry ingredients evenly.
Step 4: Knead the dough on a floured surface for about 10 minutes.
Turn the dough onto a lightly floured surface and knead it vigorously. This process develops gluten, giving the bread its chewy texture. The dough should become smooth and elastic; if it’s too sticky, sprinkle a little more flour.
Step 5: Let the dough rise in a warm place for 1 to 2 hours or until doubled.
Transfer the kneaded dough into a lightly greased bowl, covering it with a damp cloth or plastic wrap. This resting period allows the yeast to work, fermenting the dough and creating air pockets, which makes for a light and airy loaf.
Step 6: Preheat your oven to 375°F (190°C) during the final rise.
Preheating the oven while the dough rises ensures that it is hot enough to create a good crust once you put the bread inside. The right temperature is key for effective oven spring, enhancing the loaf's volume.
Step 7: Shape the dough and place it in a greased loaf pan or on a baking sheet.
After the dough has risen, punch it down to release excess gas, then shape it into a loaf or divide into rolls. Shaping helps to create surface tension, which produces a nice rise while baking.
Step 8: Allow the shaped dough to rise again for about 30 minutes.
This secondary rise, called proofing, is essential for developing the bread's texture and flavor. Cover it loosely again to prevent drying out; it should puff up but not double in size.
Step 9: Bake for 30-35 minutes until golden brown.
Place the bread in the preheated oven. The bread is done when it’s golden on top and sounds hollow when tapped on the bottom. This indicates it has cooked through properly.
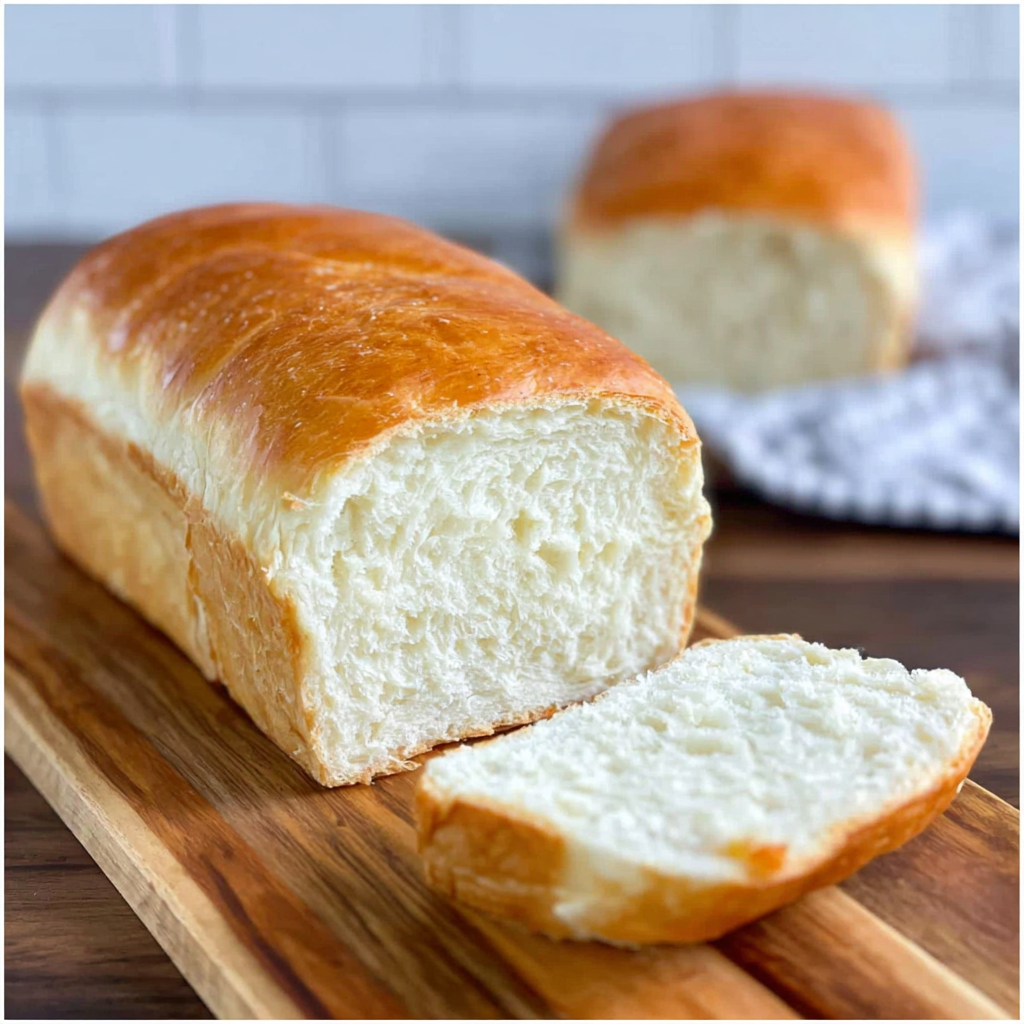
Step 10: Let the bread cool on a wire rack before slicing.
Cooling allows the steam to escape and helps set the bread’s texture. Slicing too early can result in gummy slices, so patience is key for a perfect result.

Embracing Fermentation for Flavor
Fermentation is a crucial step in homemade bread that not only causes the dough to rise but also develops its flavor. The longer the fermentation, the more complex the taste becomes. Consider allowing your dough to rise slowly in the refrigerator overnight for deeper flavors. This technique, known as cold fermentation, can result in a bread with a nuanced and artisan quality that transforms a simple loaf into a culinary delight.
Experimenting with Add-ins
Homemade bread can be a blank canvas for your culinary creativity. Try incorporating add-ins such as herbs, seeds, or dried fruits to enhance texture and flavor. For example, adding rosemary and olives infuses the bread with a Mediterranean flair, while a sprinkle of sunflower seeds offers a delightful crunch. Just remember to balanced these ingredients with the basic dough to maintain proper hydration and texture.
The Art of Crust Creation
The crust of your homemade bread contributes to its overall appeal and texture. For a crusty exterior, try placing a pan of water in the oven as the bread bakes; this will create steam, allowing the bread to expand fully before the crust sets. Another technique is to brush the dough with water or an egg wash before baking, achieving a golden and glossy finish that not only looks appealing but adds a richer flavor.
FAQs
What if my dough is too sticky?
If your dough feels excessively sticky, gradually incorporate small amounts of flour while kneading until it reaches a workable consistency. Avoid adding too much flour at once to maintain the desired texture.
Why is my bread bland?
If your bread lacks flavor, ensure you're using enough salt in your dough, and consider adding flavorings like herbs or spices during the mixing stage to enhance the taste.
What should I do if my bread is overcooked?
If your bread is overcooked, it may turn out dry. Next time, check for doneness earlier and ensure your oven temperature is calibrated properly to avoid burning.
Can I substitute some of the flour for whole wheat flour?
Yes, you can substitute up to half of the all-purpose flour with whole wheat flour for added nutrition, but be aware that the texture may change slightly, and you might need to increase the liquid.
How do I know when my dough has risen enough?
The dough should roughly double in size and feel puffy to the touch. You can also conduct the 'poke test' by gently pressing your finger into the dough; if the indentation remains, it’s ready.
Why didn't my bread rise properly?
Poor rising may result from expired yeast, incorrect water temperature, or inadequate kneading. Make sure to check your yeast’s freshness and the dough’s environmental conditions.
Conclusion
Baking homemade bread is an art that rewards patience and practice. Each loaf you create brings you closer to mastering this timeless skill, allowing you to share wonderful flavors and experiences with others.
As you continue your bread-making journey, don't hesitate to explore variations and techniques that can personalize your loaf. Enjoy the process, and remember, the best bread is the one made with love.
Recipe Card
Crafting Delightful Homemade Bread for All Occasions
Ingredients
Method
- Activate the yeast by mixing it with warm water and sugar.
- Prepare the dry ingredients by whisking flour and salt together.
- Add the activated yeast mixture and olive oil to the dry ingredients.
- Knead the dough on a floured surface for about 10 minutes.
- Let the dough rise in a warm place for 1 to 2 hours or until doubled.
- Preheat your oven to 375°F (190°C) during the final rise.
- Shape the dough and place it in a greased loaf pan or on a baking sheet.
- Allow the shaped dough to rise again for about 30 minutes.
- Bake for 30-35 minutes until golden brown.
- Let the bread cool on a wire rack before slicing.
Notes
Additional serving suggestions: pair with a crisp salad, garlic bread, or roasted seasonal vegetables for balance.
For make-ahead, prep components separately and assemble just before heating to preserve texture.
Taste and adjust with acid (lemon/vinegar) and salt right at the end to wake up flavors.